
Installing WP-Translate is business as usual in WordPress: you upload a zip, activate it, and paste your key. Five minutes and you're translating. This guide goes through it step by step, with real screenshots of each moment.
To the point: you need two things: the file .zip of the plugin —it arrives by email when you buy it, or you download it for free— and administrator access to your WordPress. Nothing else.
1. Get the zip
There are two ways to get the file:
- Paid version. When buying in the store you receive an email with the download link and your license key. Save both.
- Free version. Download it from the free product page. It's the entire plugin with one language besides yours, with no time limit. It doesn't need a key.
In both cases you end up with a file wp-translate-master.zip on your computer. No need to unzip it.
2. Upload it to WordPress
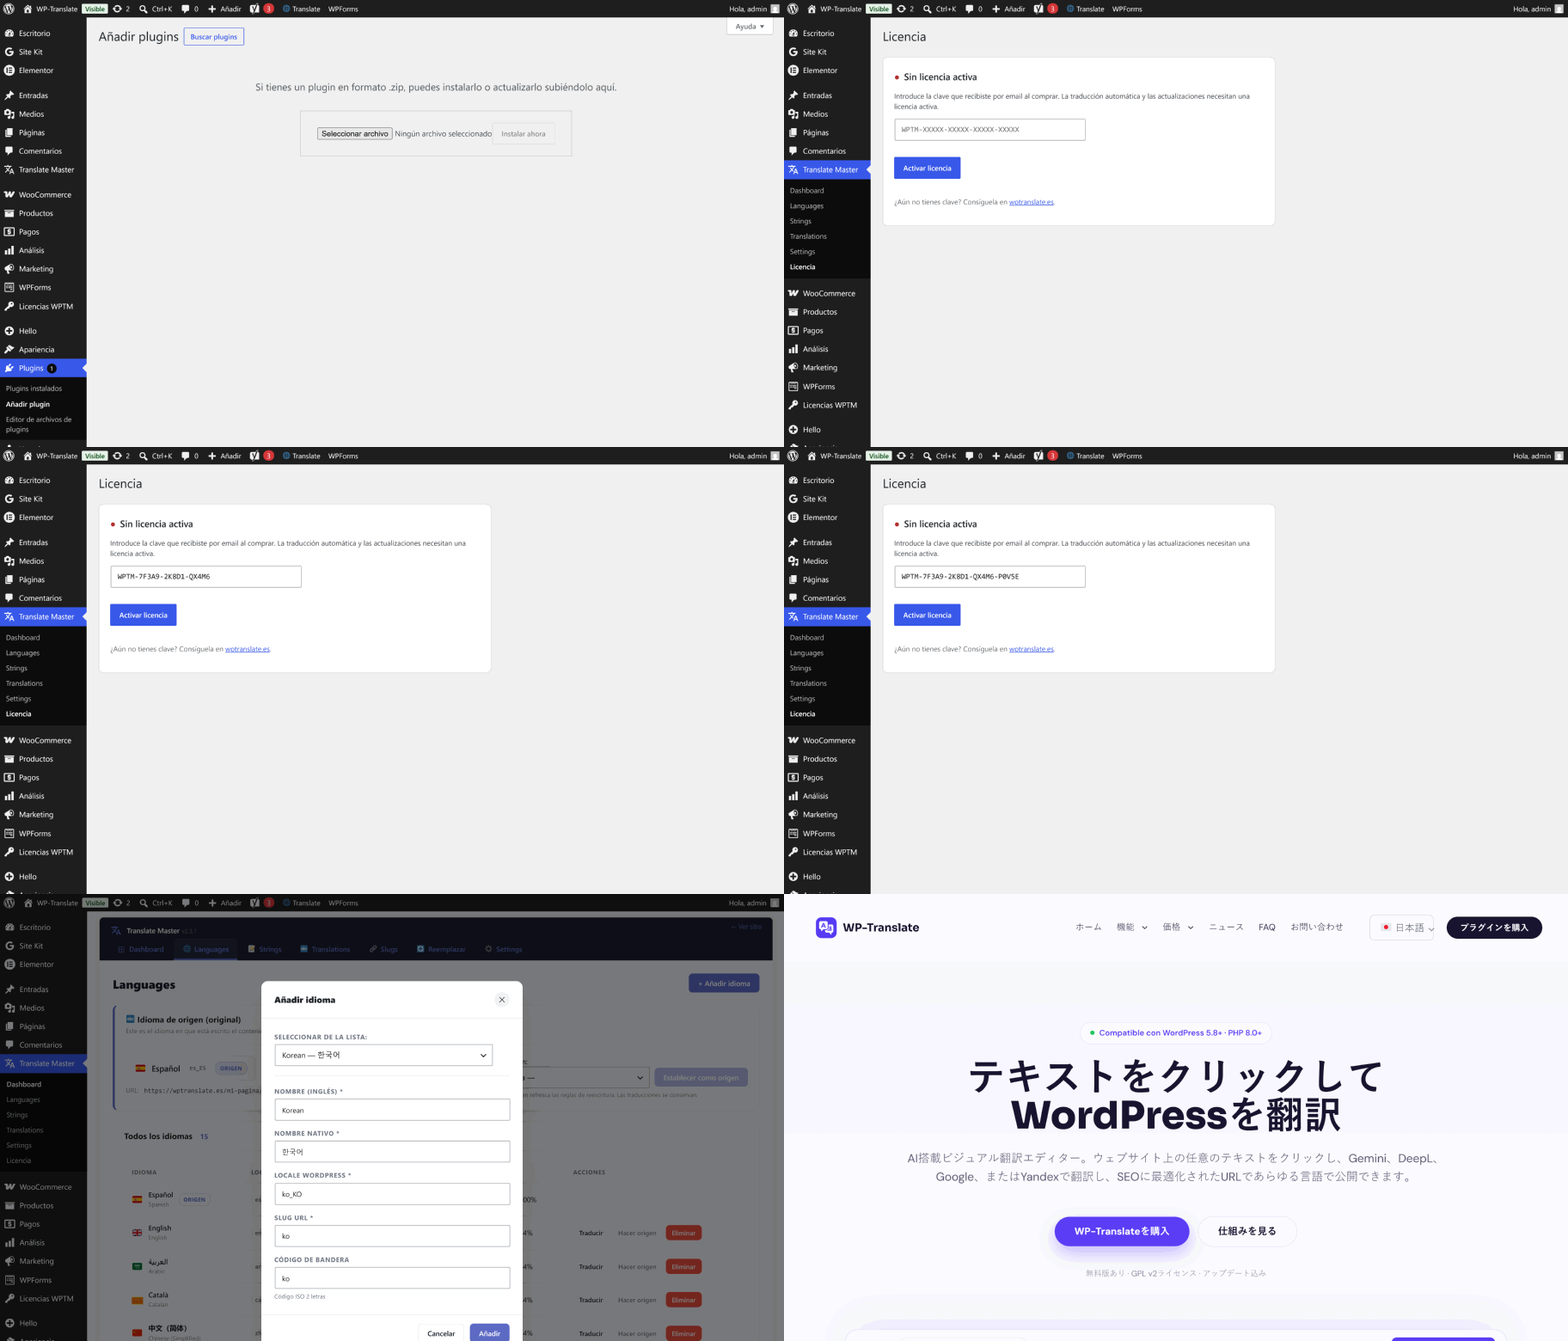
In your dashboard, go to Plugins → Add New → Upload Plugin. Click "Choose File", select the zip and click Install Now.
3. Activate it
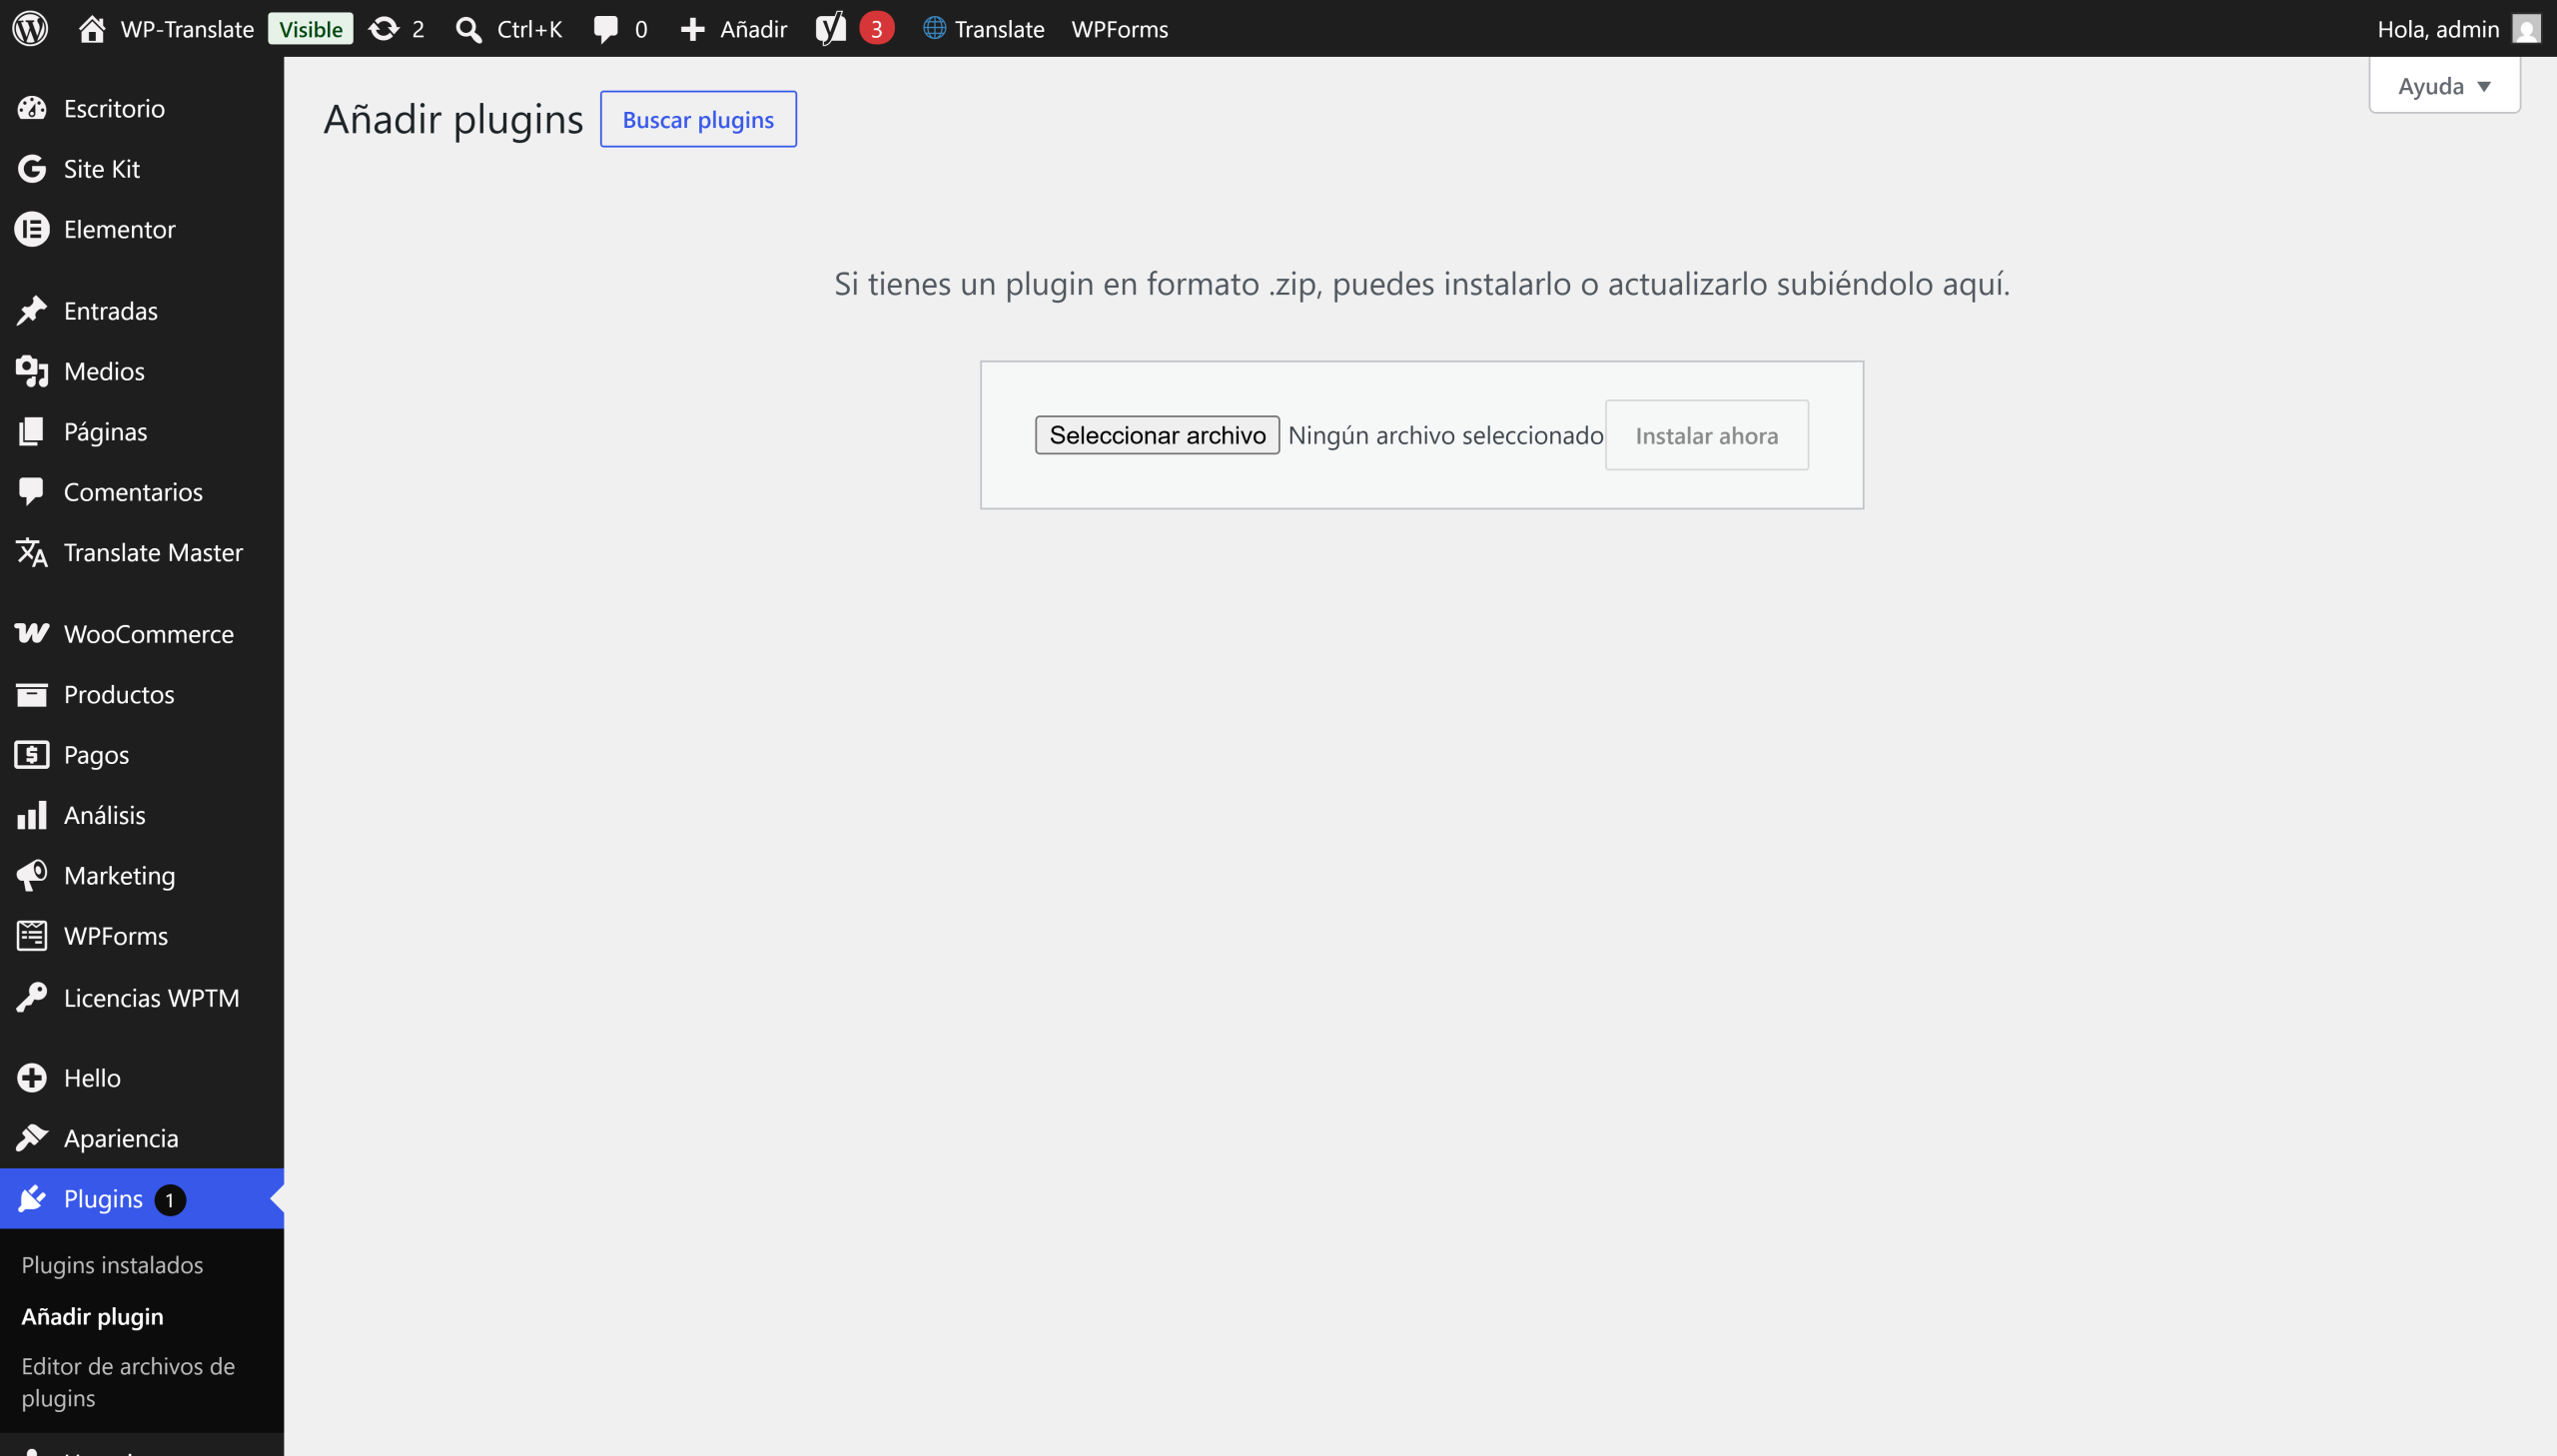
When the installation finishes, WordPress offers you Activate plugin. Click it. From there you will see WP Translate Master in the plugin list and a new menu, Translate Master, in the sidebar.
4. Paste your license key
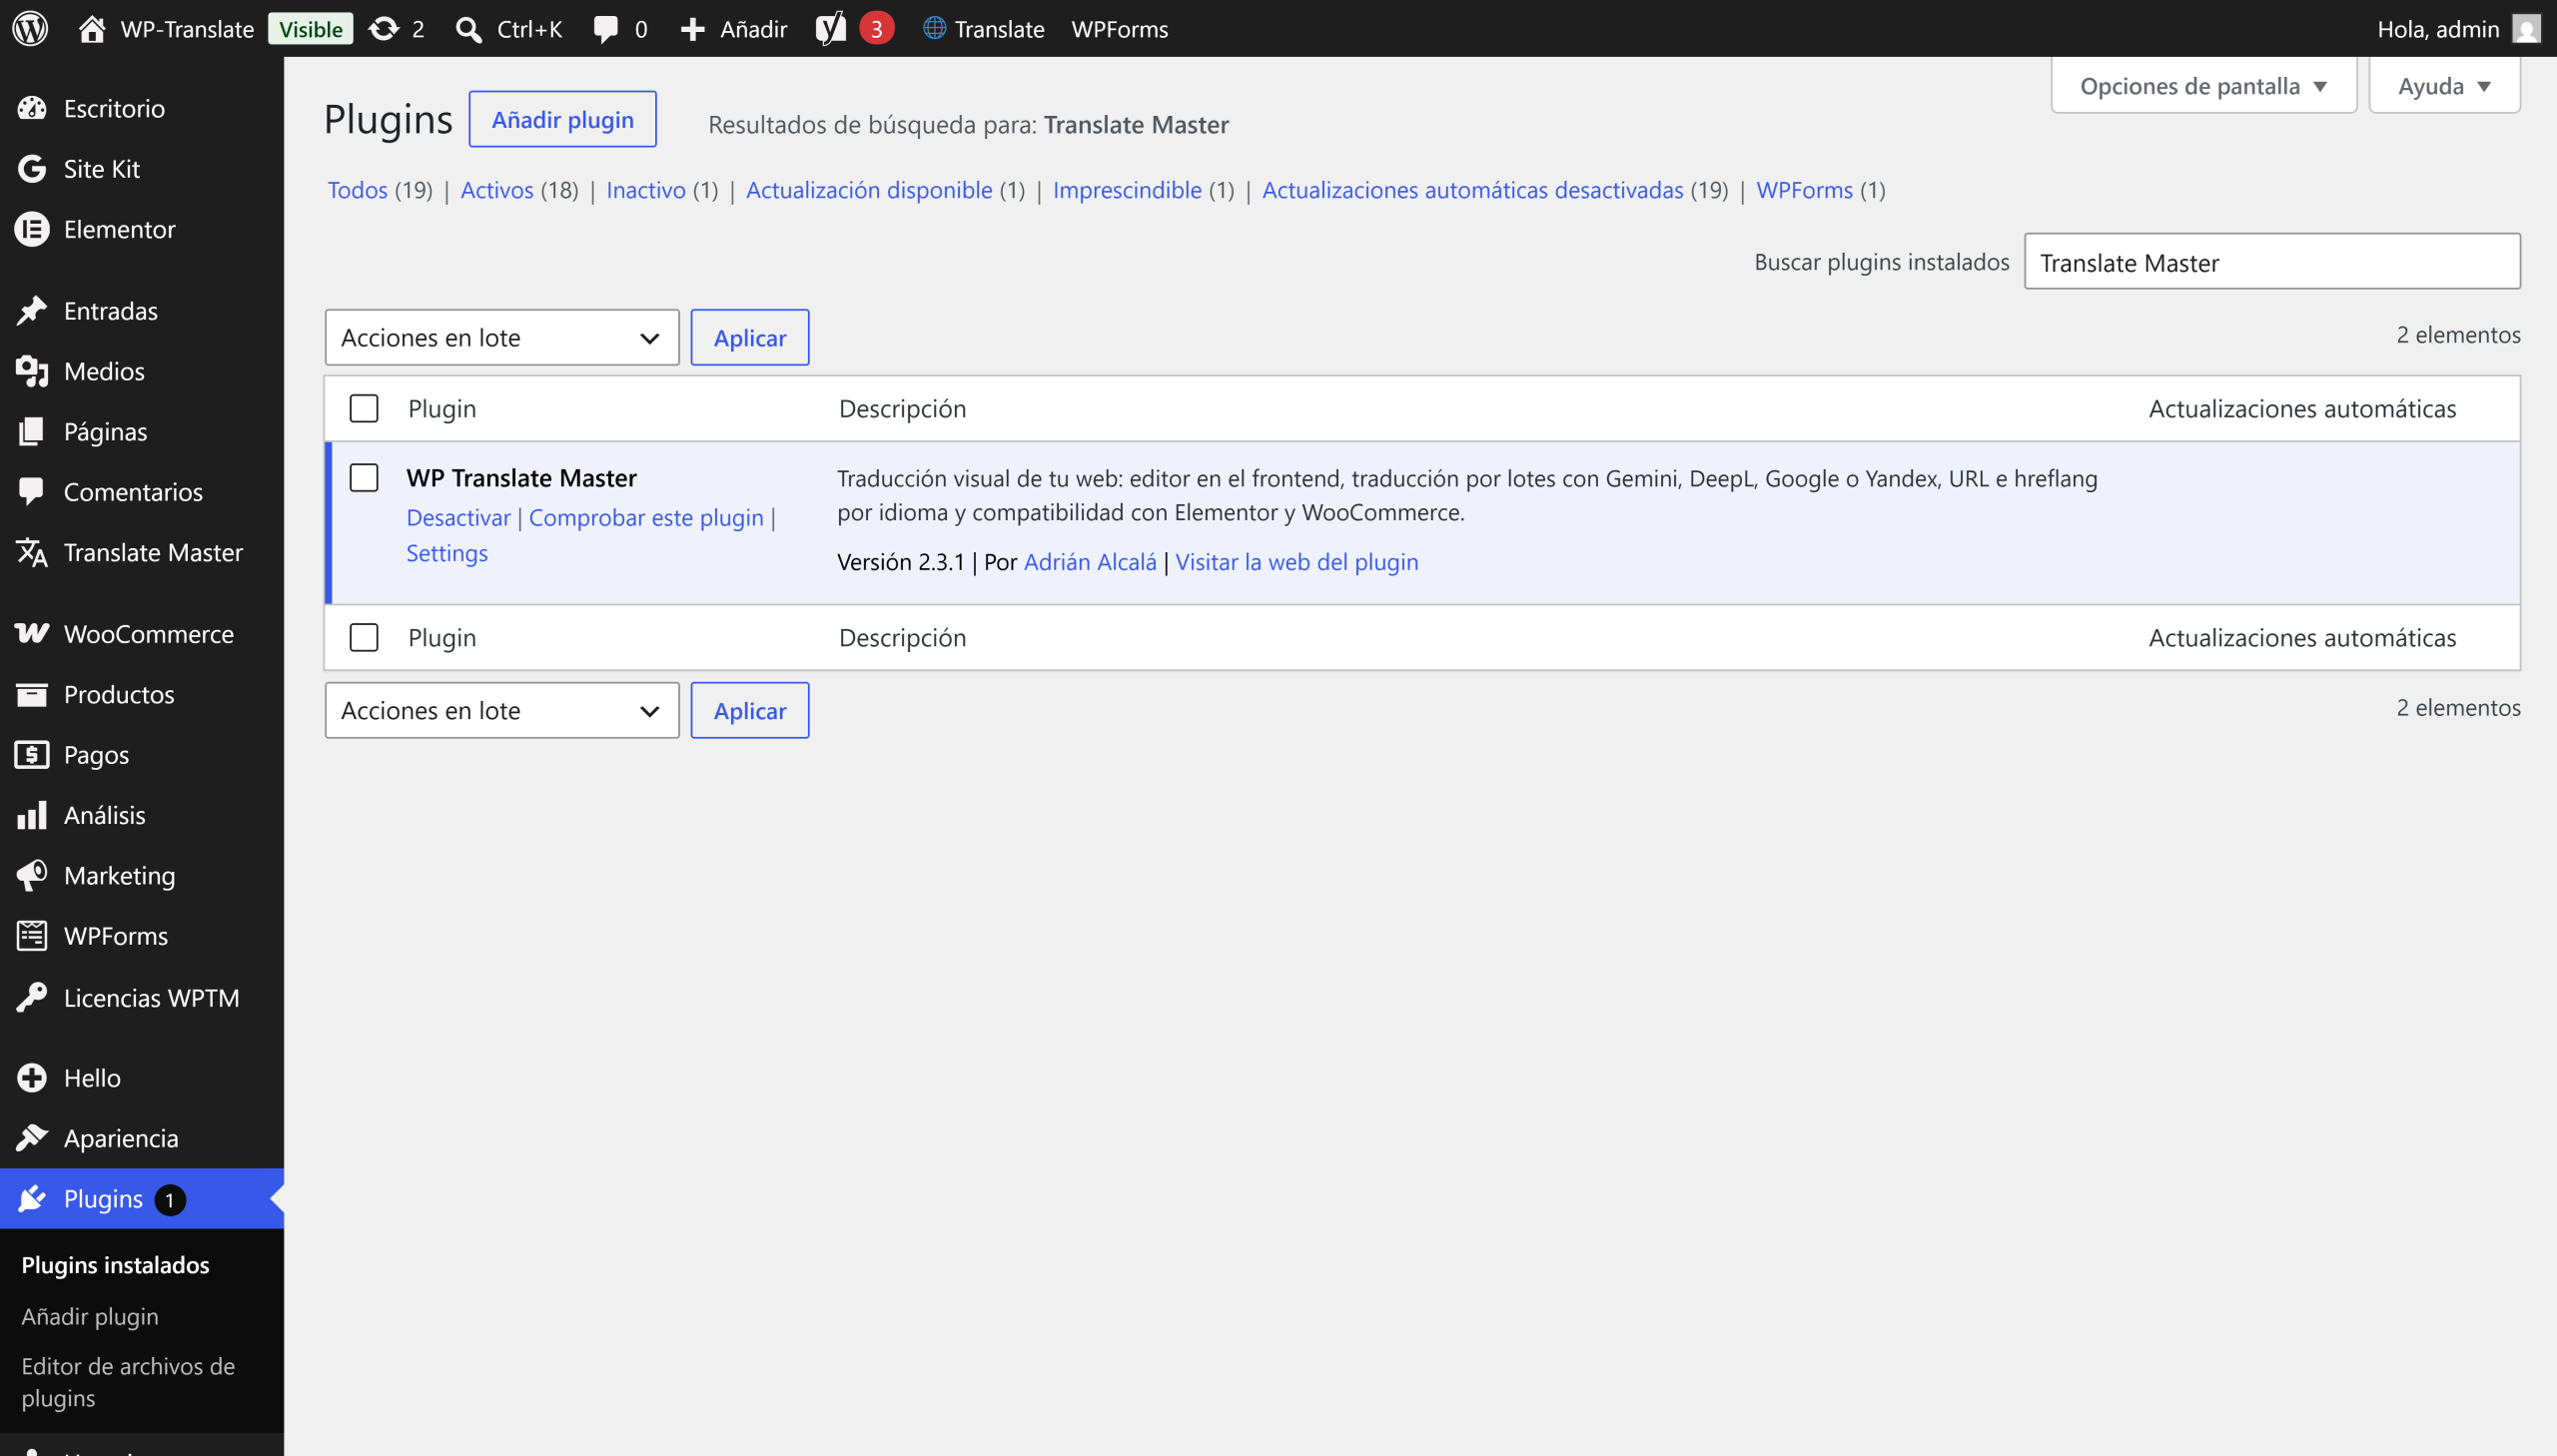
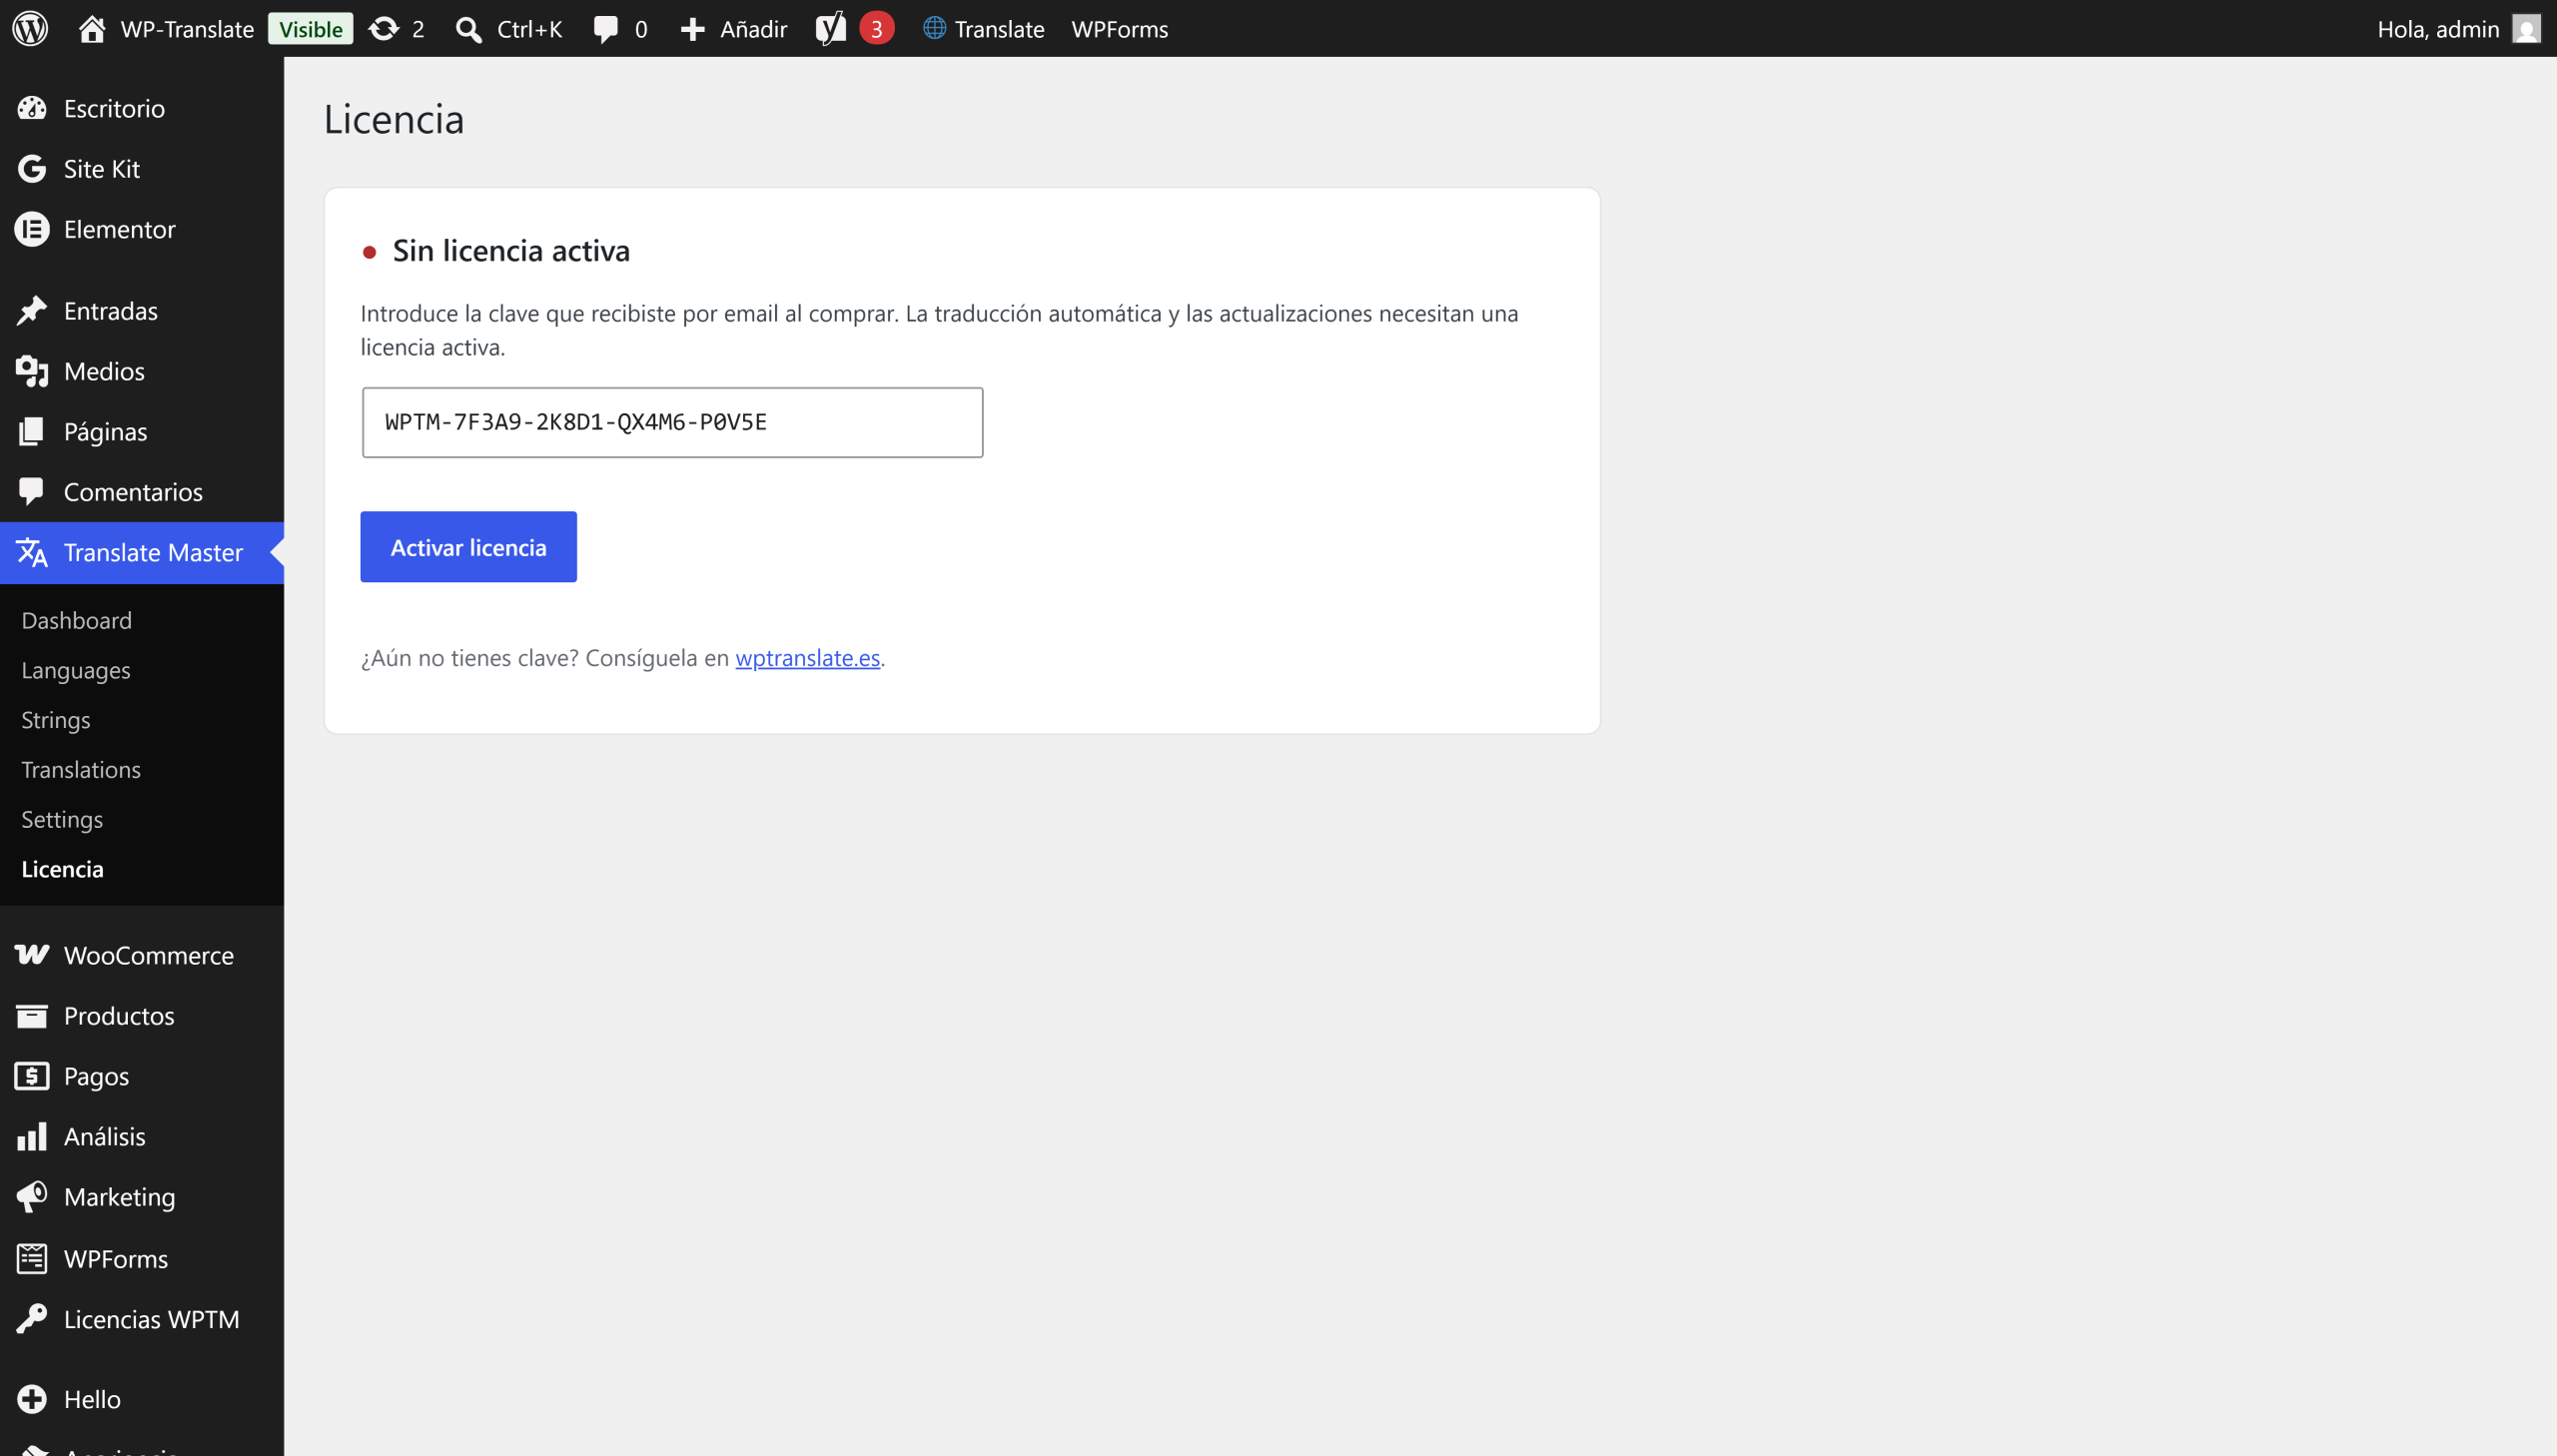
If you use the free version, skip this step: you can start now. If you bought a license, go to Translate Master → License. You will see the "No active license" notice and a field for the key.
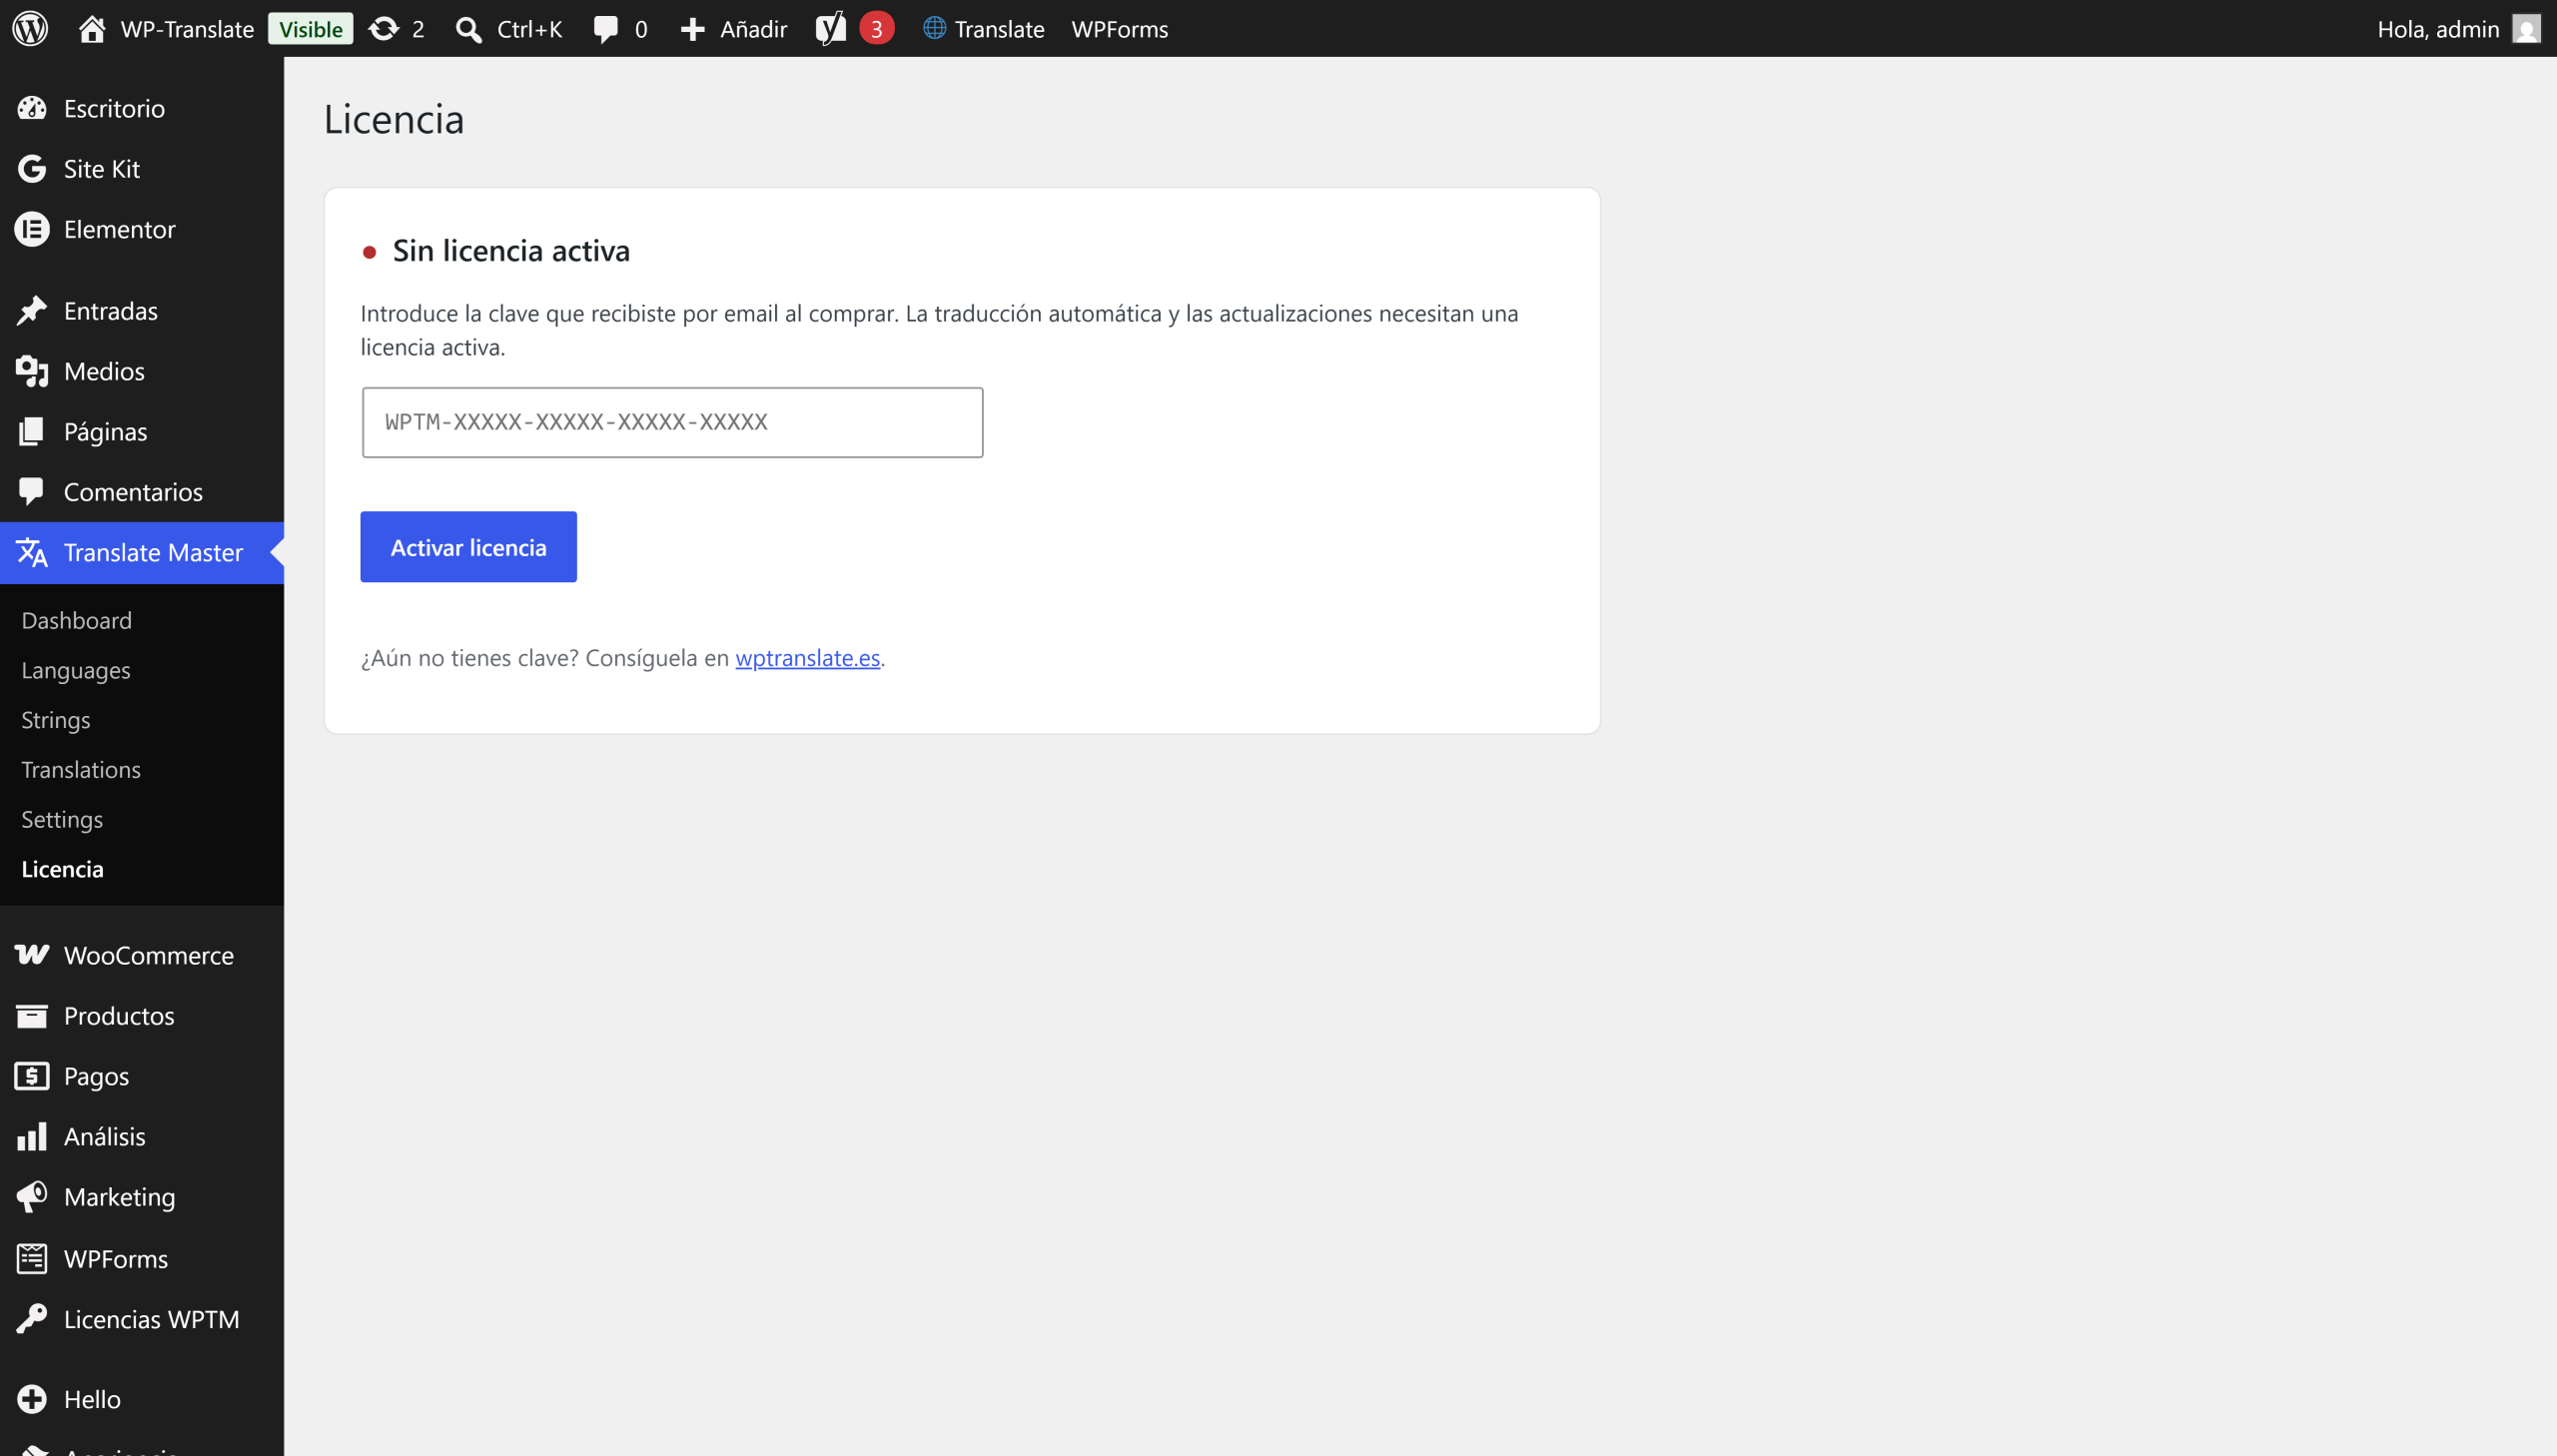
Paste the key you received by email —it has the form WPTM-XXXXX-XXXXX-XXXXX-XXXXX— and click Activate license.
5. Check that it is active
If the key is correct, the screen changes to Active license and it tells you your plan, how many sites you are using it on, and its expiration. WP-Translate licenses are for life: they are paid once and do not expire.
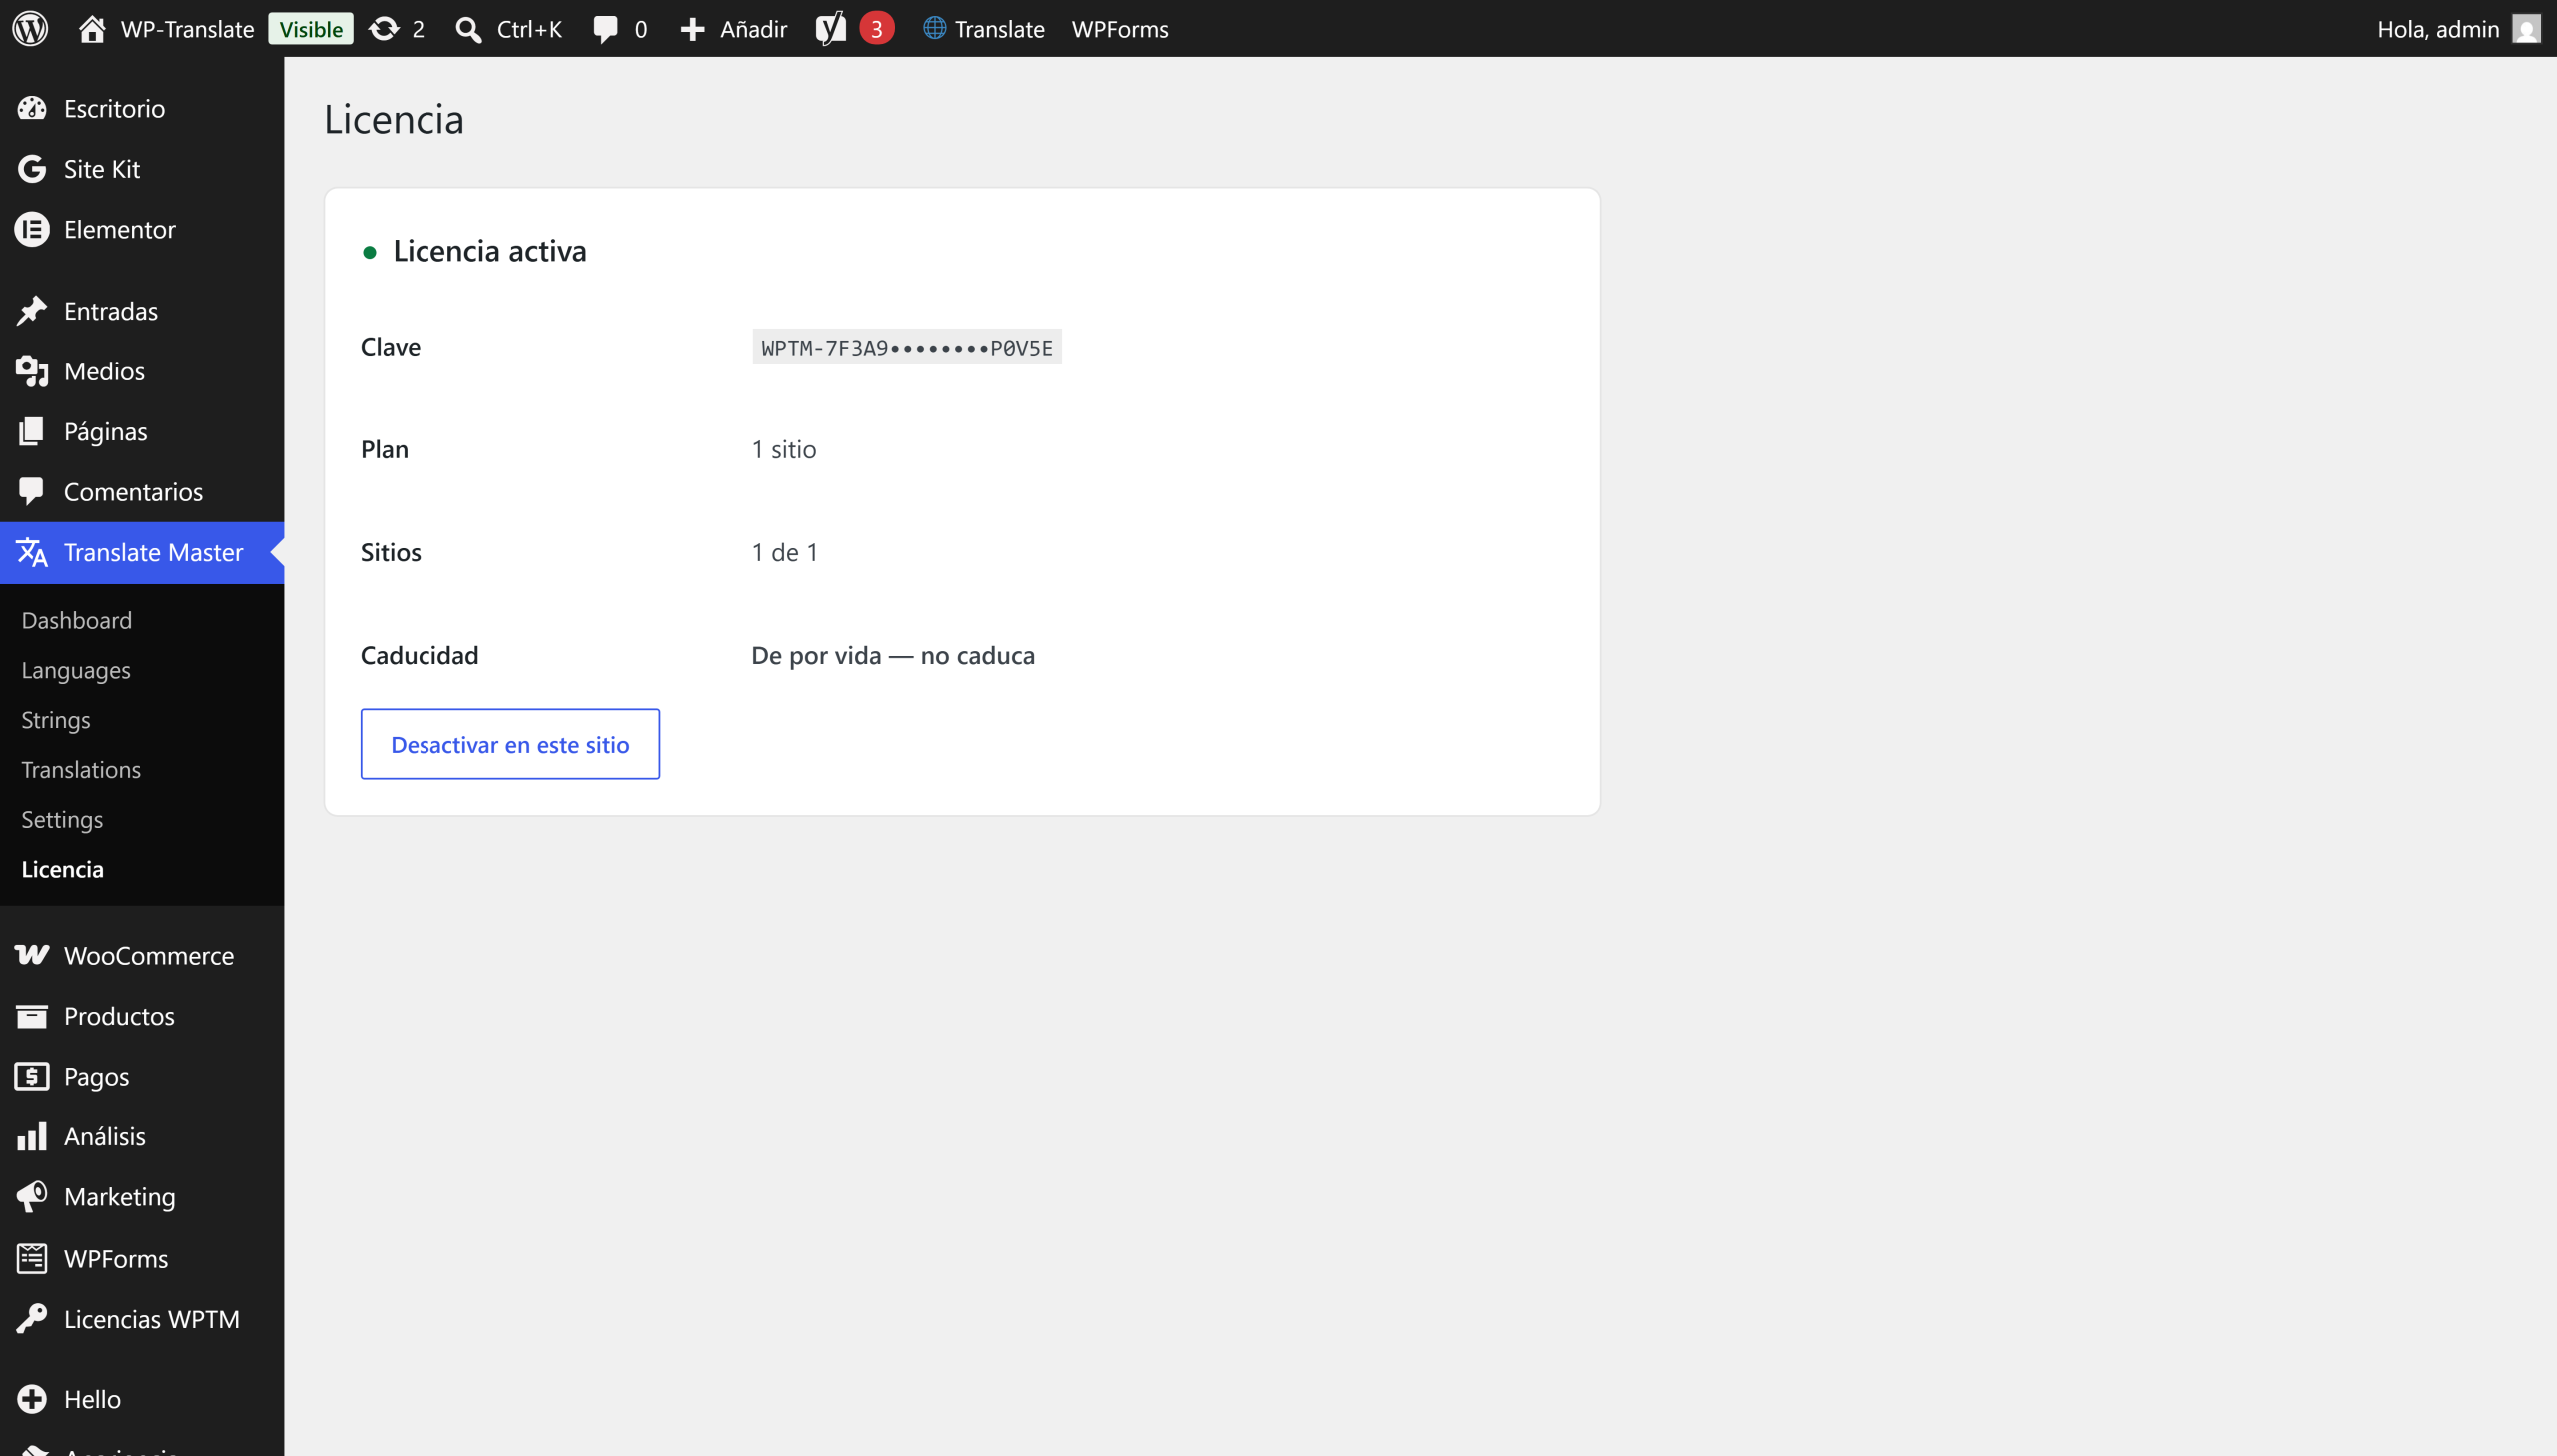
To the point: does it tell you the key is not valid? Check that you copied it entirely, without spaces before or after, and that you are not already using it on more sites than your plan allows. You can free up a site from its own License screen with "Deactivate on this site".
6. And to translate
It's already installed. The next step is to add your first language and launch a translation: go to Translate Master → Languages, click "Add language" and choose one from the list. Each language automatically gets its own URL. Then, from Translations or from the visual editor —by clicking on the text on your own website—, you translate with Gemini, DeepL, Google or Yandex.
We cover that entirely in the guide to translate your WordPress step by step. Here the important part is already done: the plugin installed and the license active.
Quick questions
Can I try it before paying? Yes. The free version is the complete plugin with one language in addition to yours, with no time limit and without asking for your card.
Is it installed the same way on multiple sites? The same for each one. With the same key you can activate as many sites as your plan allows (1, 5 or unlimited); each website is managed from its own WordPress.
And the updates? They arrive automatically to the WordPress dashboard, like those of any other plugin, as long as the license is active.